
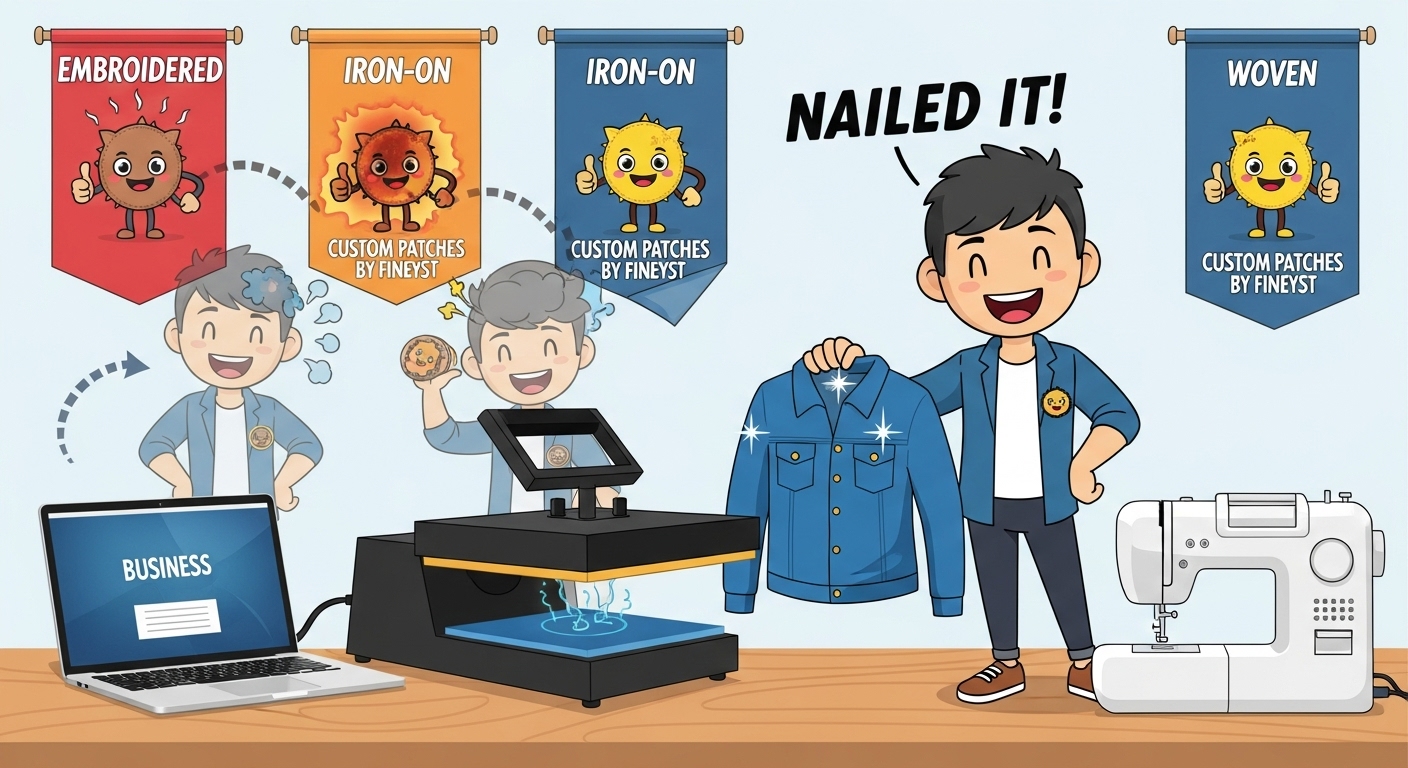
Step-by-Step Guide on Heat Pressing Custom Patches
Many users struggle with peeling or poorly applied custom patches due to incorrect heat pressing. Choosing the right patch type, using proper temperature, pressure, and cooling, and avoiding common mistakes ensures long-lasting results. Whether working with embroidered, iron-on, or woven patches, mastering each step from setup to care guarantees a professional, durable finish.
Understanding Why Heat Pressing Custom Patches Is a Challenge
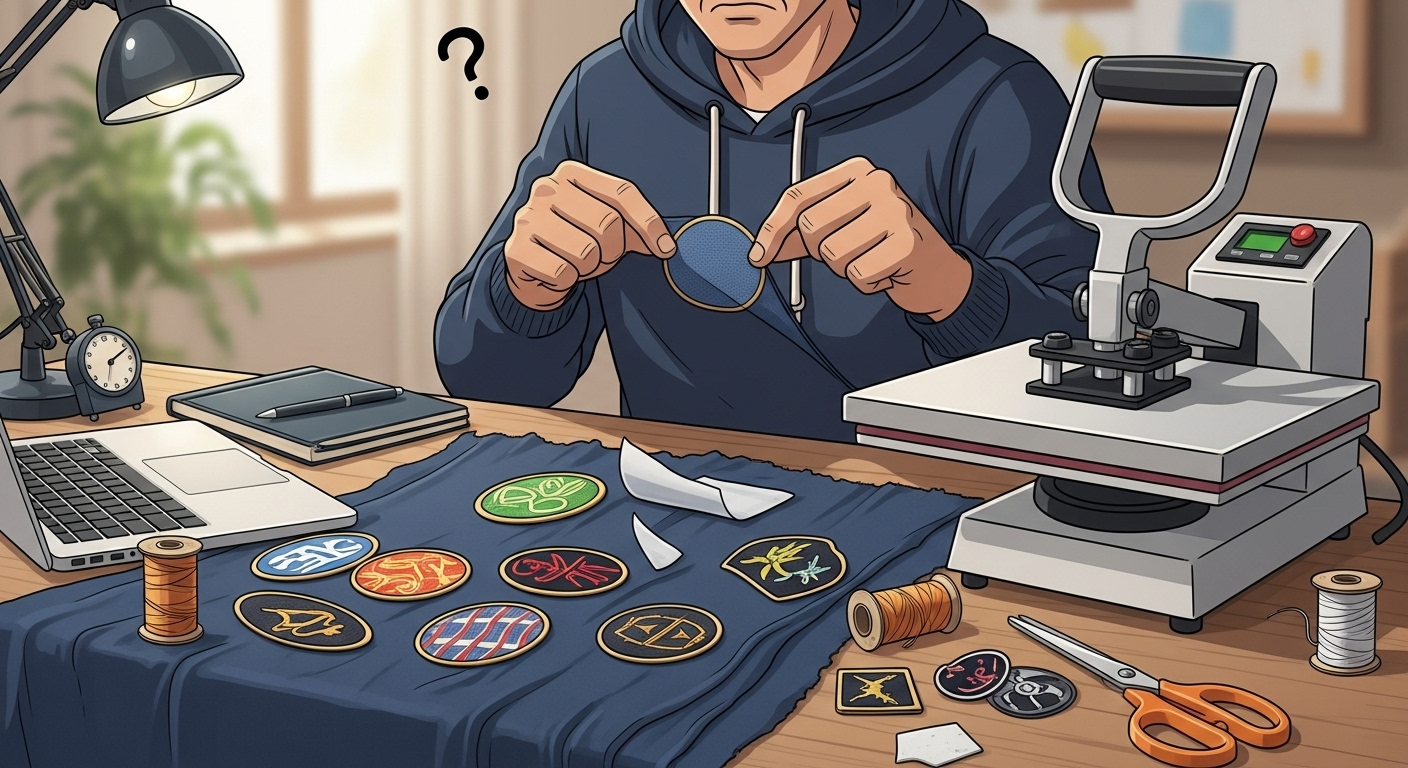
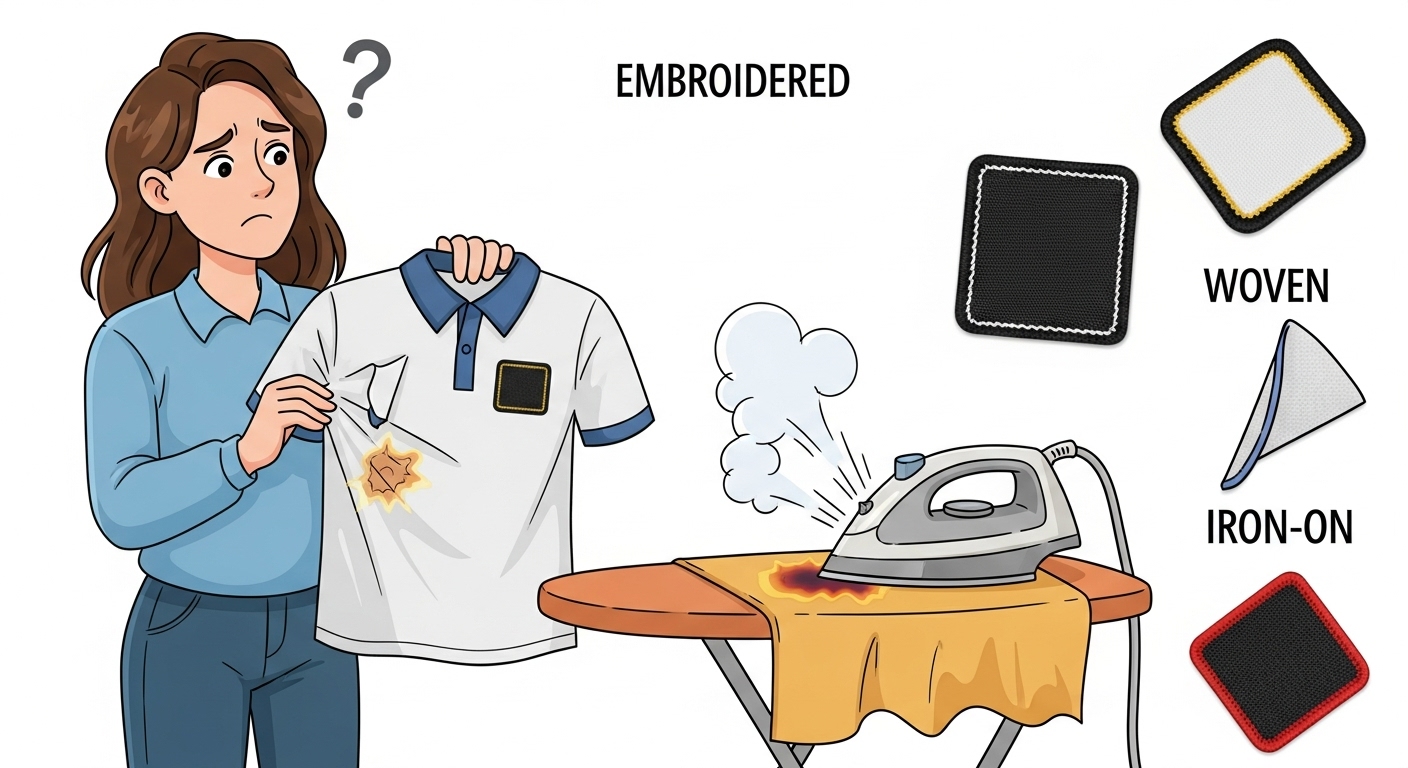
People love custom patches for their individuality, branding potential, and fashion appeal. But when it comes to applying them, they face significant hurdles. The most common problems include choosing the wrong heat settings, using an incompatible patch type, or not aligning the patch properly. For example, a user may purchase iron-on patches thinking they work like stickers, only to end up with scorched fabric or barely-adhered designs.
Part of the problem is that not all patches are made the same. Embroidered Patches have a different backing than woven patches, and each reacts to heat differently. Additionally, household irons rarely offer the precision needed for consistent results. Many users don't know that a heat press machine can provide the exact pressure, temperature, and timing required. Without understanding these nuances, people continue making the same mistakes and wasting valuable custom patches.
Another example is a small business that orders Custom Patches by Fineyst to brand their team uniforms. Despite their good intentions, they end up returning several batches because the patches kept curling at the edges after washing. The solution was simple: they needed to heat press the patches at 320°F with firm pressure for 20 seconds, followed by a cooling period. Once they did that, the patches stayed firmly in place.
Complete Guide
Choosing the Right Custom Patch Before You Heat Press
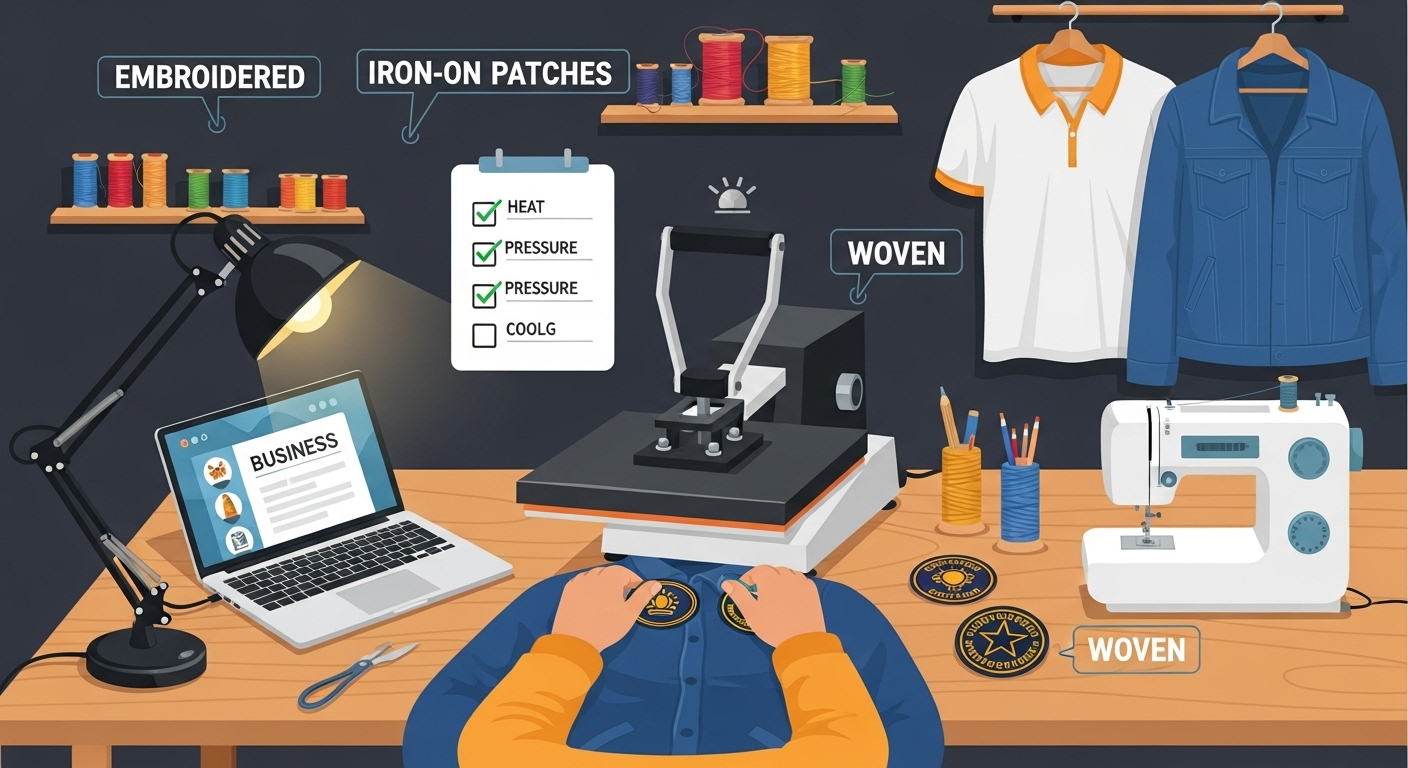
Before jumping into the heat pressing process, selecting the right type of custom patches is crucial. Not all patches are created equal, and applying heat without knowing the patch material can lead to costly errors. If you’re unsure which type suits your project best, explore the differences between Embroidered Patches, Woven Patches, and iron-on options.
Embroidered Patches are textured and thicker, with raised threads that give them a 3D feel. They often have a heat-activated backing and are excellent for bold designs. You can find a wide range of Embroidered Patches here.
Woven Patches use thinner threads and allow for finer detail, ideal for intricate logos or small text. They also come with iron-on or sew-on options. Check out Woven Patches here.
If you specifically want ease of use, iron-on is your best friend. These have a layer of adhesive backing that melts under heat and bonds to fabric. Browse our collection of Iron-on patches here.
Understanding these distinctions will help you avoid choosing the wrong product, saving both time and effort. To make the right choice for your needs, visit Custom Patches and explore various options.
Preparing for Heat Pressing: Tools and Setup for Custom Patches
Now that you’ve chosen the right patch, your heat press journey starts with preparation. First, gather your essentials: a heat press machine (preferred over a household iron for consistency), parchment paper or Teflon sheet, and a flat, heat-safe workspace. Don’t skip this step, improper setup can lead to uneven adhesion or fabric damage.
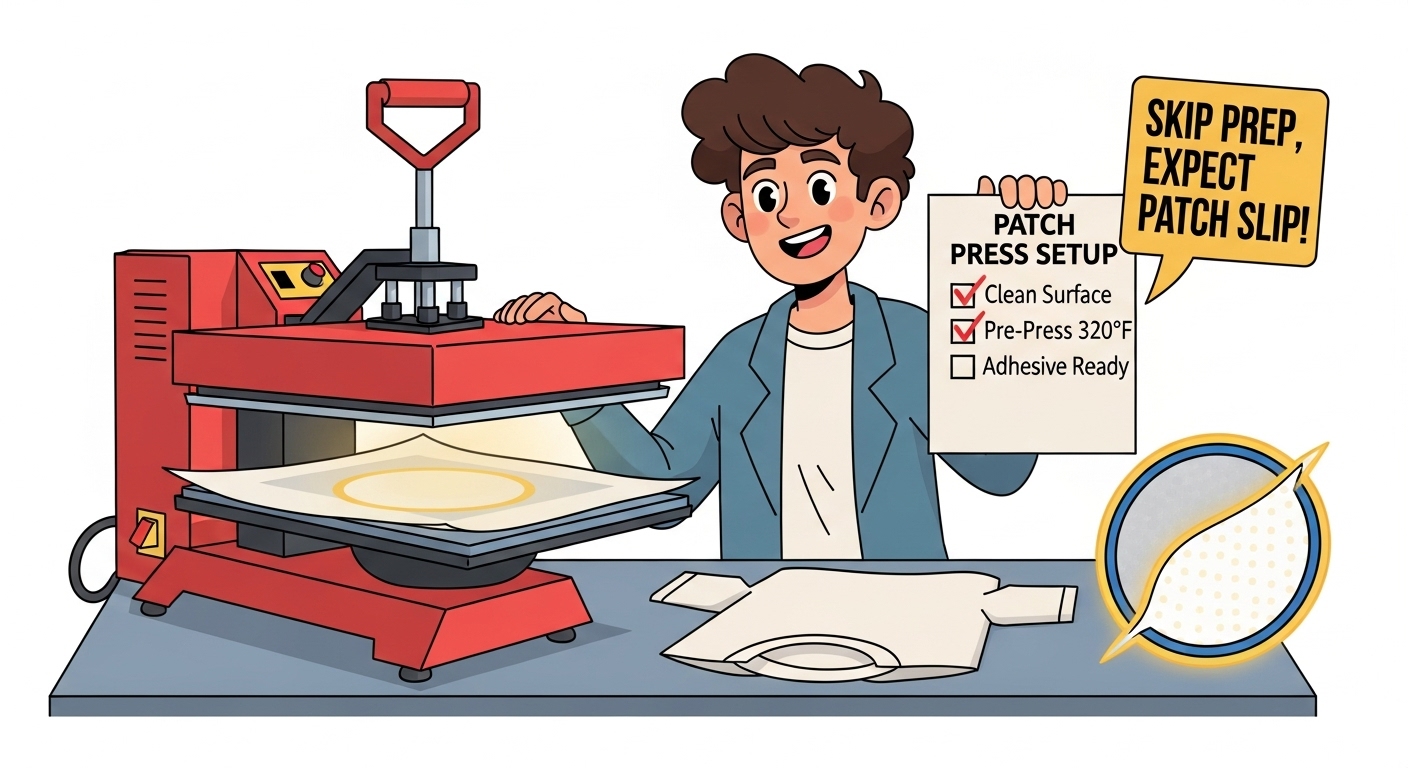
The surface must be flat, clean, and free from lint. Place your garment on the press bed and pre-press it for 5-10 seconds at 320°F to remove moisture and wrinkles. This primes the fabric for strong patch adhesion. If you’re using iron-on patches, ensure the adhesive side is clean and has no debris.
Here's an example: A college club orders custom patches for their jackets but skips pre-pressing. Moisture trapped in the fabric prevents the glue from bonding correctly, and patches start to lift after one day. Simply pre-pressing the jackets would have prevented this problem entirely.
Step-by-Step Heat Pressing Instructions for Custom Patches
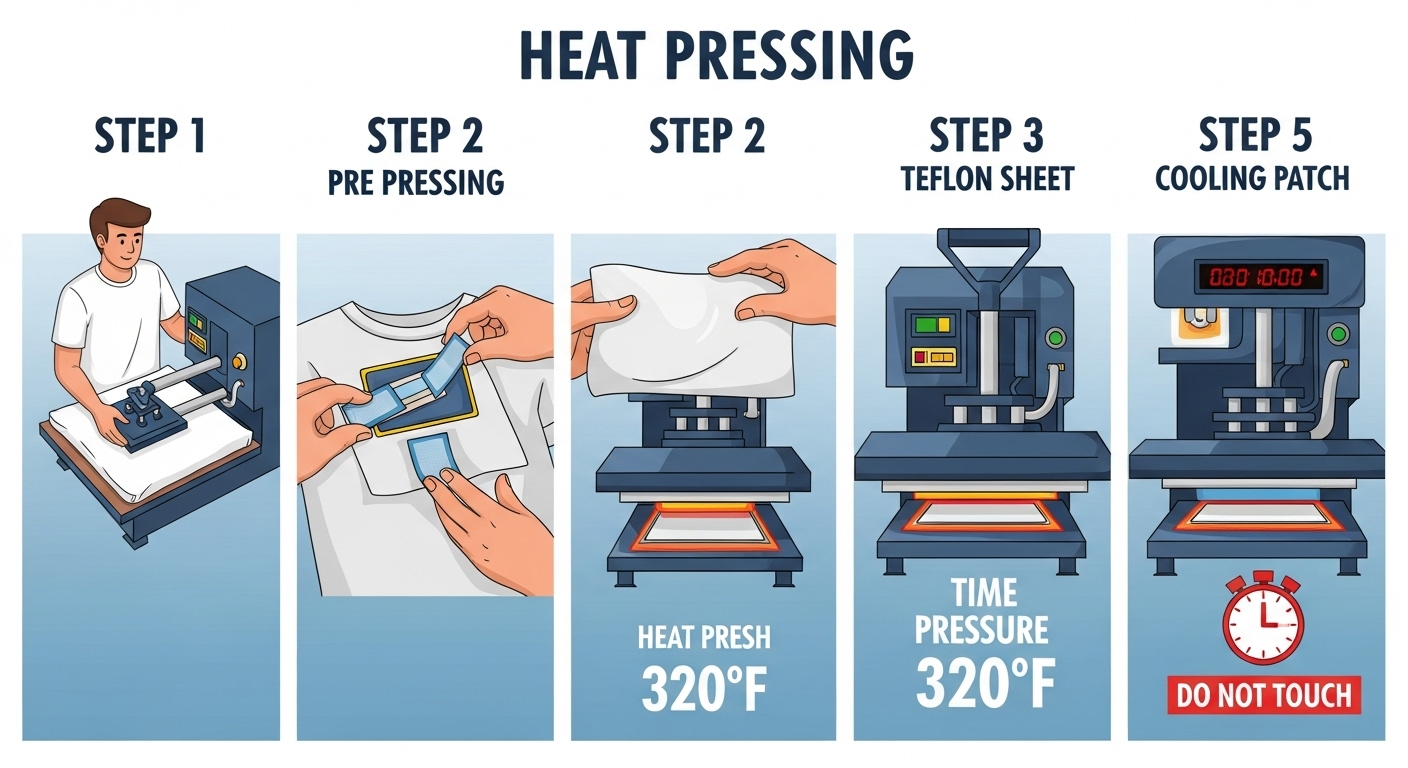
This is where precision matters. Set your heat press machine to 320°F (160°C), apply medium to firm pressure, and follow these exact steps:
Lay your garment flat on the press bed and pre-press for 5 seconds.
Position your custom patch exactly where you want it. Use thermal tape if necessary.
Cover the patch with parchment paper or a Teflon sheet to protect both the patch and fabric.
Press the patch with firm pressure for 20-25 seconds.
Carefully remove the garment and let it cool completely before touching the patch.
This cooling period is crucial. Many people touch or stretch the fabric too soon, causing the adhesive to weaken. Letting it cool ensures a permanent bond.
Post-Press Care: Making Your Custom Patches Last
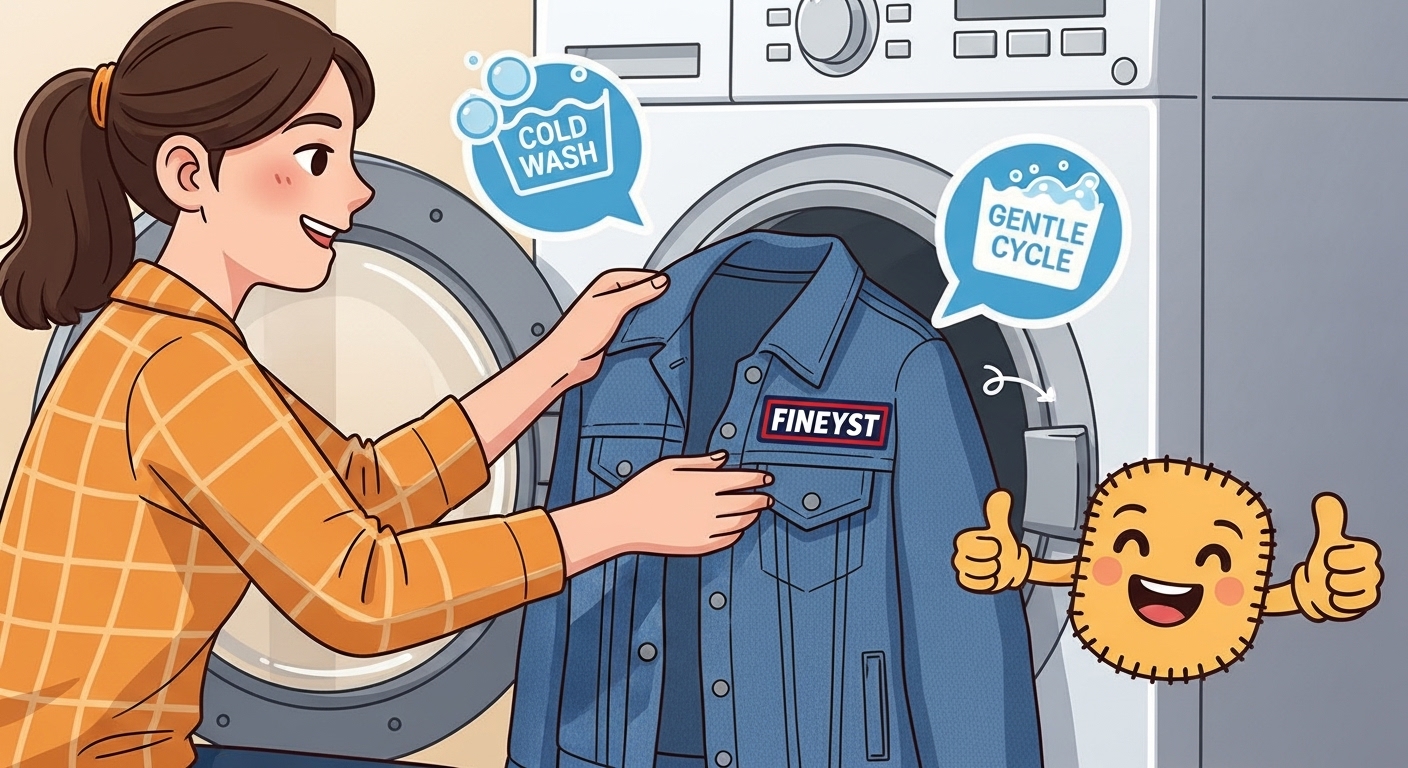
Even when your custom patches are applied perfectly, improper care afterward can undo all your hard work. Avoid washing the garment for at least 24 hours. When you do wash it, turn it inside out and use cold water on a gentle cycle. Never dry on high heat; instead, opt for air drying or tumble drying on low.
Another example: A customer uses heat pressing to apply Embroidered Patches to tote bags for a fundraiser. Initially, they follow every step correctly, but they machine-wash the bags in hot water the next day. The patches curl at the edges. A simple adjustment in the care routine could have kept the bags looking new.
Common Heat Pressing Mistakes with Custom Patches
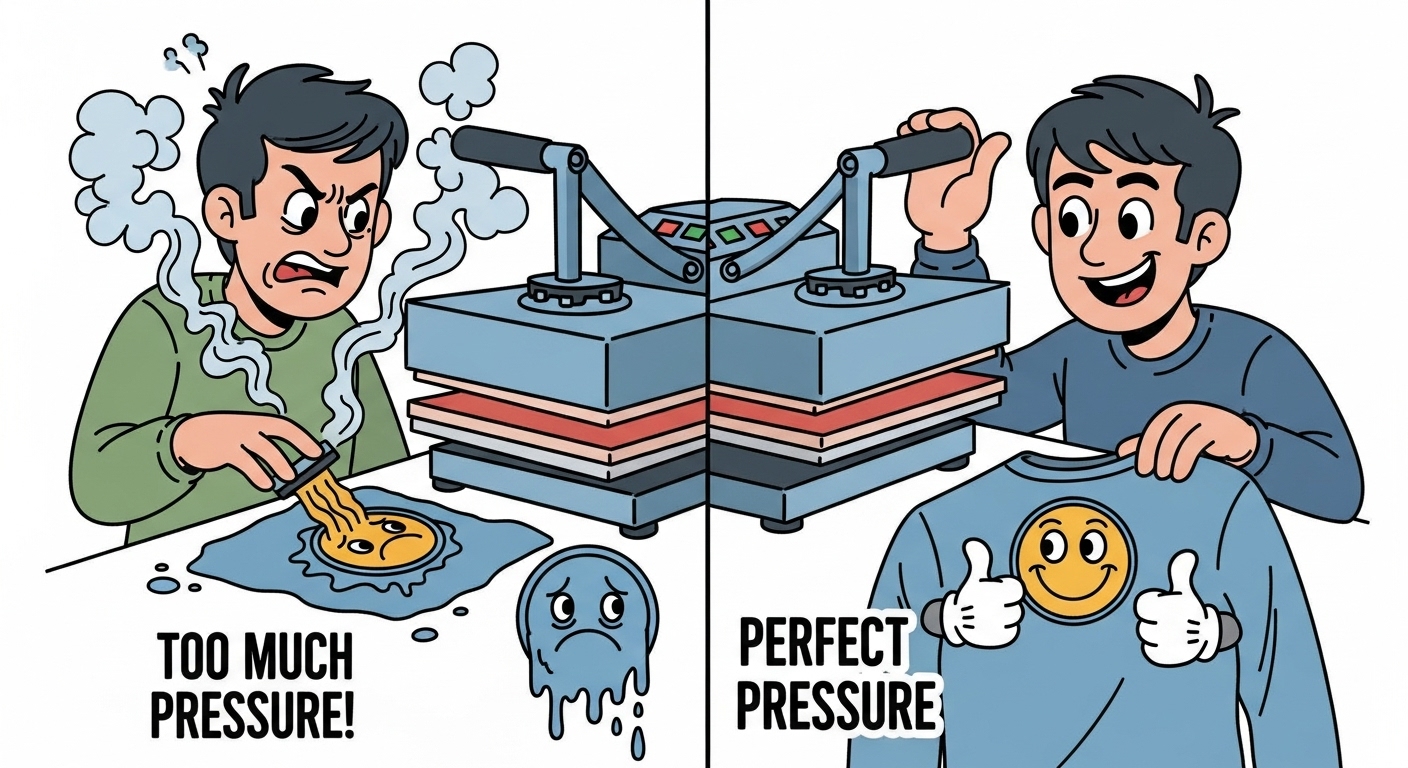
Mistakes are more common than most admit, especially among first-timers. One frequent error is using the wrong pressure. Too much pressure can flatten the patch and ruin the design, while too little pressure won’t activate the adhesive fully.
Another issue arises when people use low-quality patches from unknown sources. These often come with cheap adhesives that don't react well to heat. Always buy from a trusted source like Custom Patches by Fineyst to avoid this.
We had an example where a school ordered hundreds of patches from a third-party seller. Despite following correct heat press instructions, half the patches didn’t stick properly. After switching to Custom Patches by Fineyst, the issue disappeared entirely.

When Heat Pressing Isn’t Enough: Alternatives for Custom Patches
In some cases, heat pressing may not be the best method. For high-friction garments like denim or outerwear, consider sewing in addition to heat pressing. For delicate fabrics, even iron-on adhesives can cause damage. In such scenarios, sewing or using Velcro-backed patches might be better.
We often see customers try to press Woven Patches onto mesh or nylon, only to find the fabric puckers. These materials don’t react well to heat, so alternative application methods are necessary.
That’s why our order form offers multiple backing types, including sew-on, Velcro, and adhesive peel-and-stick options. Visit Create your own custom patch to select the method that suits your application needs.
Final Thoughts: The Right Way to Heat Press Custom Patches
Helpful Comments
PatchLover22
March 15, 2025I tried this method with felt fabric and it worked beautifully! The patches have lasted through multiple washes.
CraftyMom
February 28, 2025Adding a thin layer of fabric paint around the edges really helps prevent fraying over time. Great tutorial!
DIYenthusiast
April 2, 2025For those having trouble with the adhesive, I found that pressing for 10 seconds, letting it cool slightly, then pressing again for another 10 seconds works better than one long press.