How Custom Patches are Made
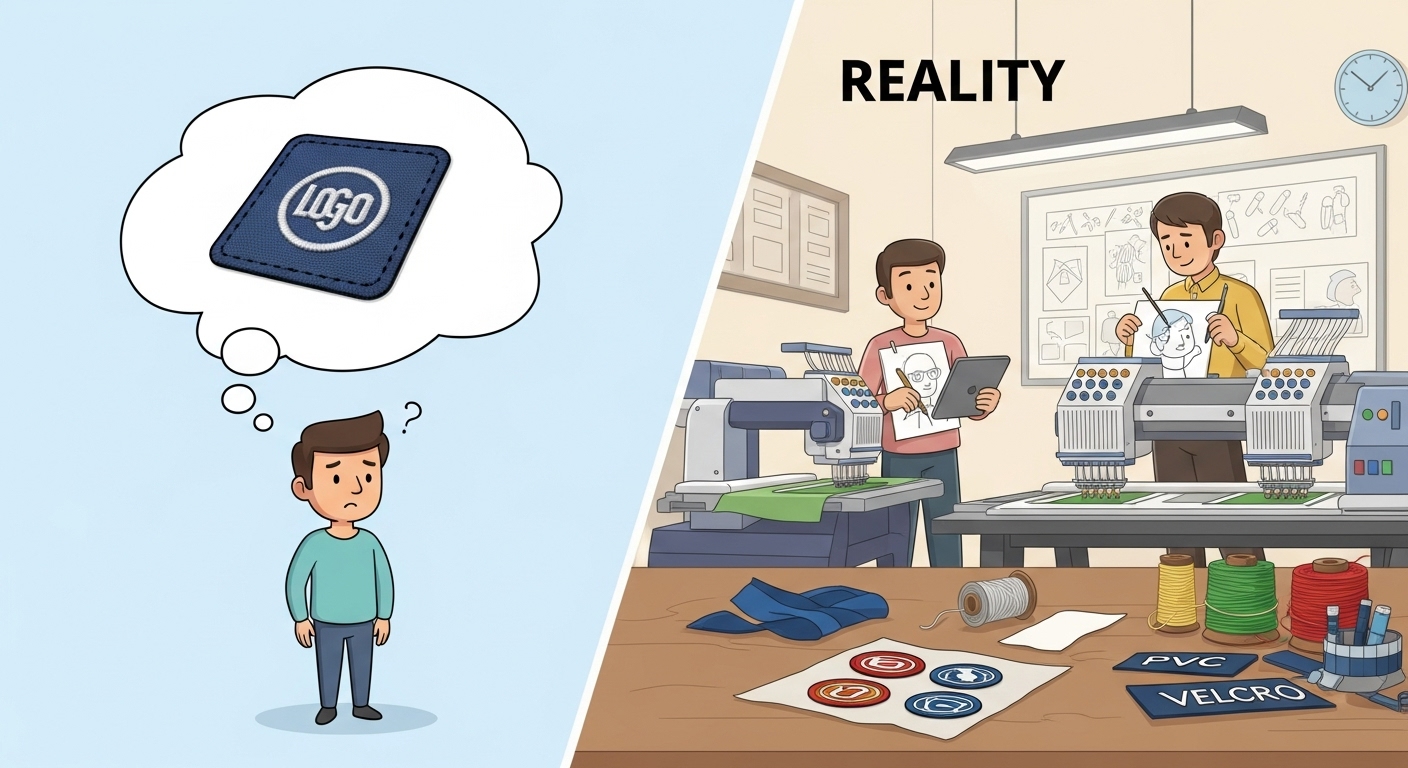
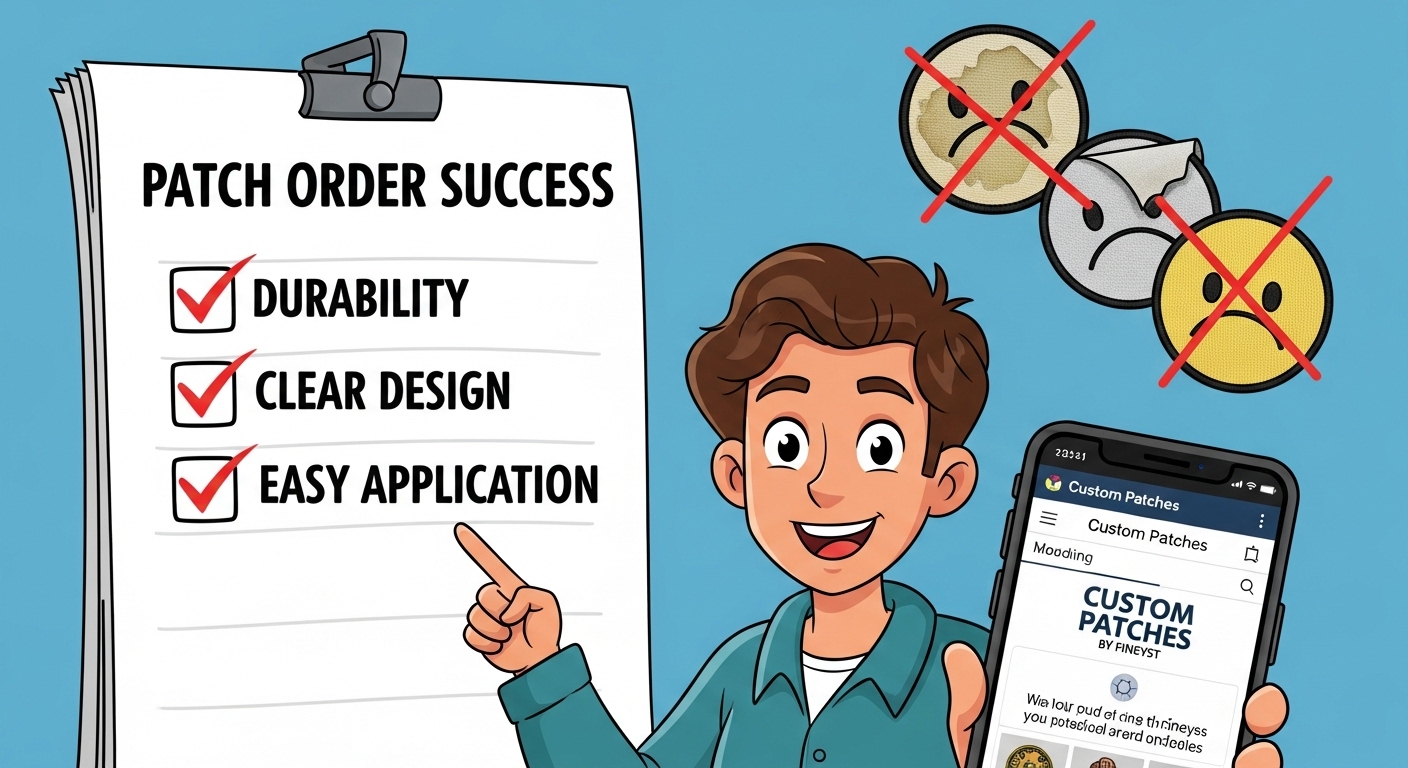
When people first think about custom patches, they often imagine a simple piece of fabric with a logo sewn on. However, the reality of how custom patches are made involves a blend of detailed design work, precise manufacturing techniques, and materials tailored to specific needs. Many face the problem of ordering patches that don’t meet expectations, whether it’s a lack of durability, poor color fidelity, or application difficulties. This blog aims to clearer the process so you can understand the solutions that professional patch makers use to deliver exceptional results.

The Common Problems People Face with Custom Patches
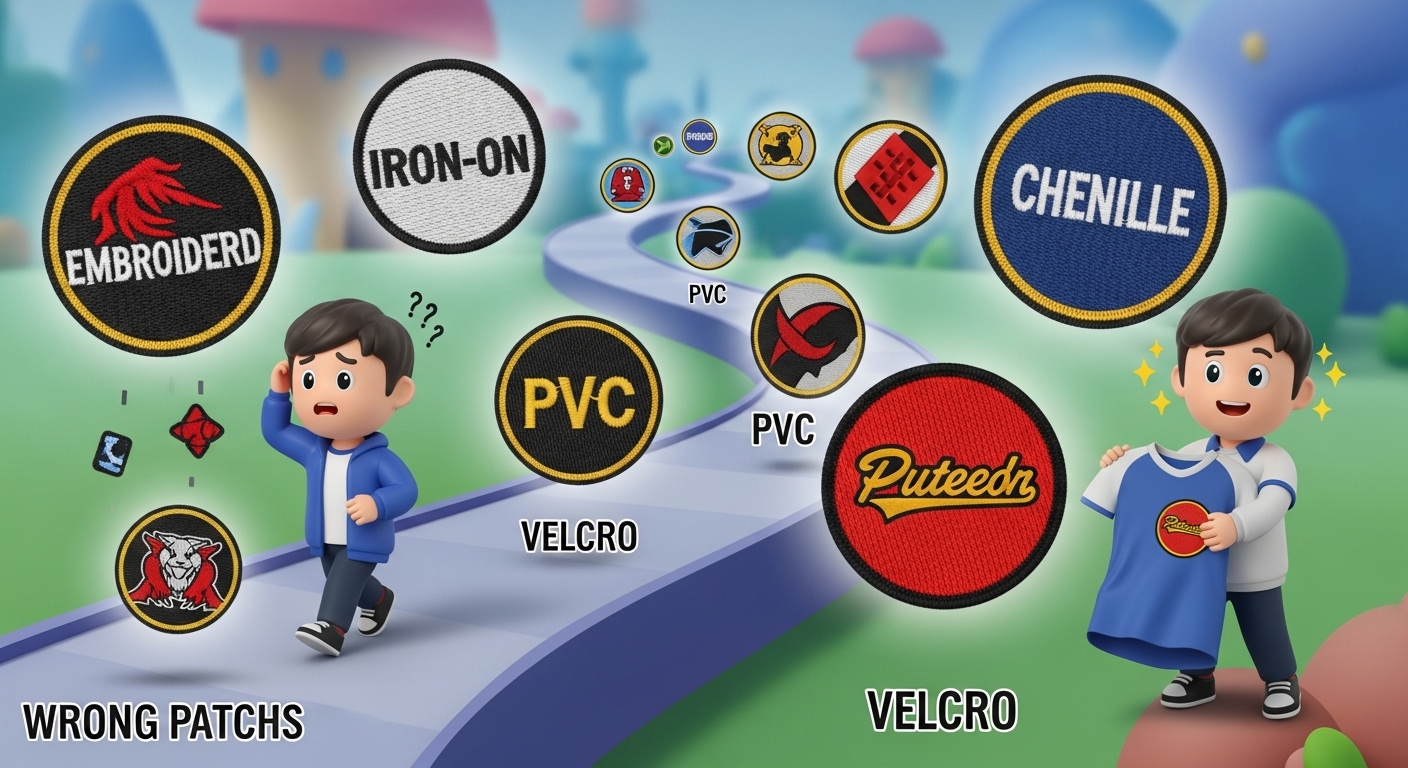
A frequent issue with custom patches is that customers don’t fully grasp the differences between patch types and how they’re made. For example, someone might order an embroidered patch expecting vibrant detail, but if the patch is woven or made from PVC, the result can be vastly different. Some patches peel or fade quickly, while others might not attach properly to clothing, creating frustration and wasted budget.
Another challenge lies in the application methods, choosing between iron-on patches and sew-on patches can make or break the patch’s lifespan and appearance. Customers also encounter problems with patch size, shape, and edge finishes that don’t align with their brand or style.
Understanding these problems is the first step toward finding a reliable solution that ensures your patches look great, last long, and fit your purpose perfectly.
How Custom Patches Are Made: From Concept to Completion
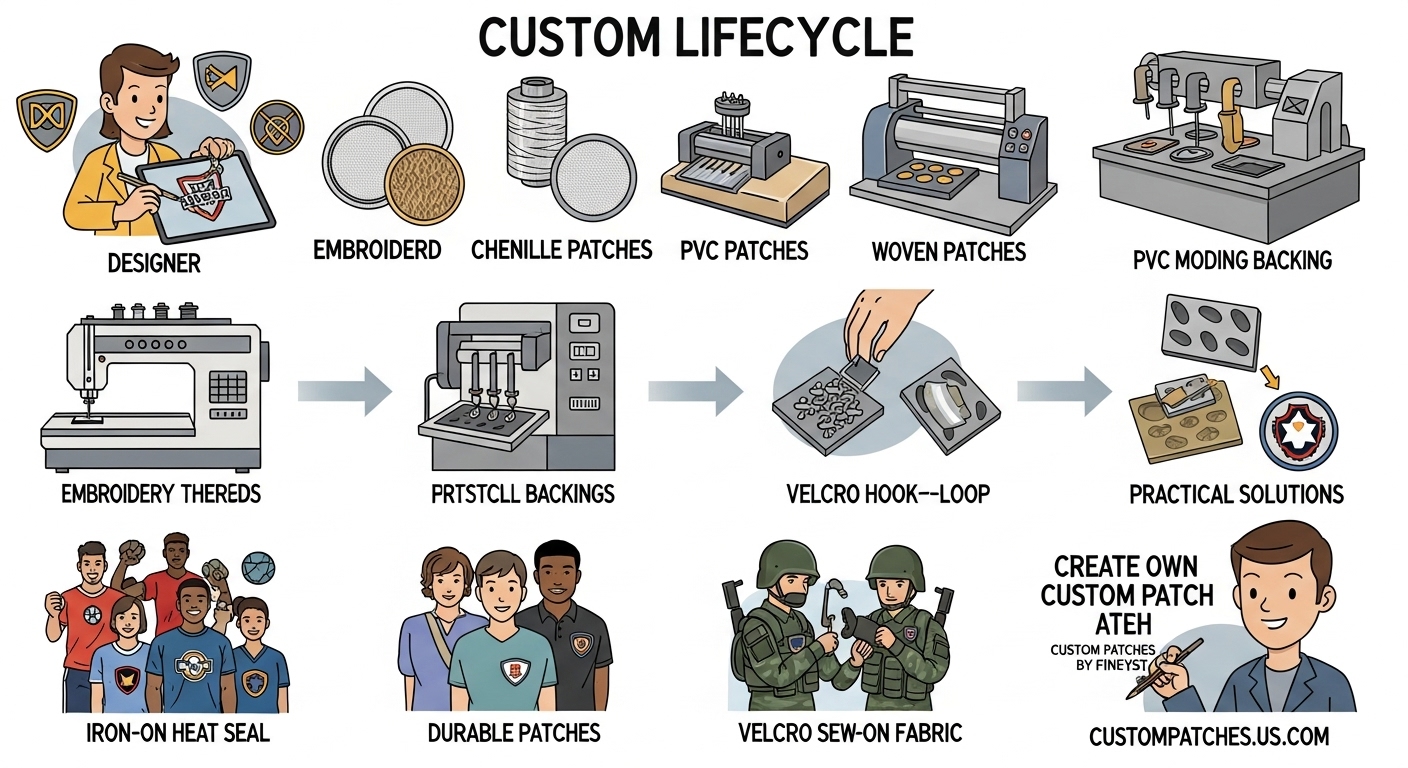
Step 1: Designing Your Custom Patch
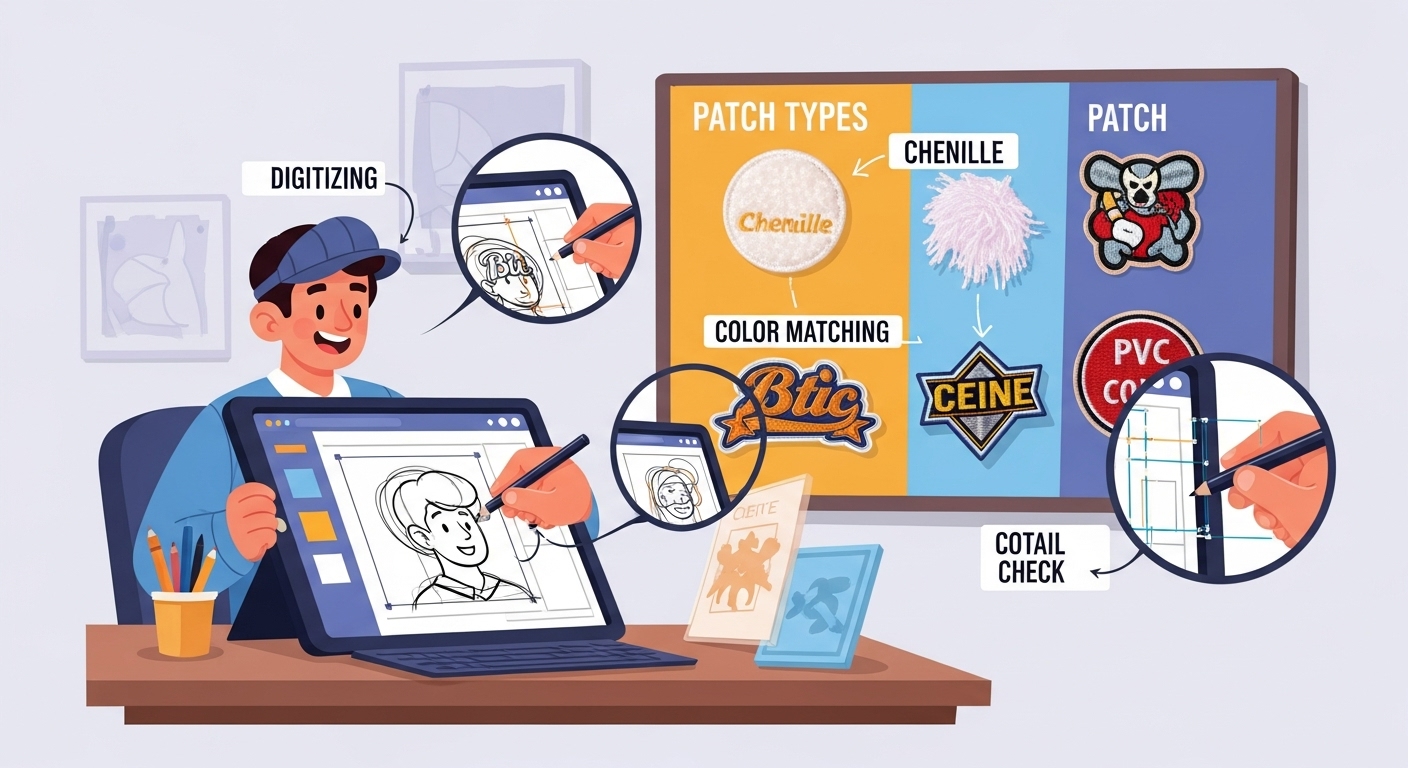
Every patch starts with a design. This step is crucial because a well-executed design leads to a high-quality patch. Designers use specialized software to convert artwork, logos, or text into a digital format optimized for stitching or weaving.
For example, the design process involves choosing the patch type, whether you want embroidered patches with raised threads for texture, chenille patches that offer a fuzzy, 3D effect, or PVC patches made of durable plastic with vibrant colors. Selecting the right design style helps avoid problems like unclear details or colors that don’t pop.
At this stage, adjustments are made to ensure fine details translate well into the chosen patch style. The design’s complexity affects the manufacturing method, cost, and turnaround time.
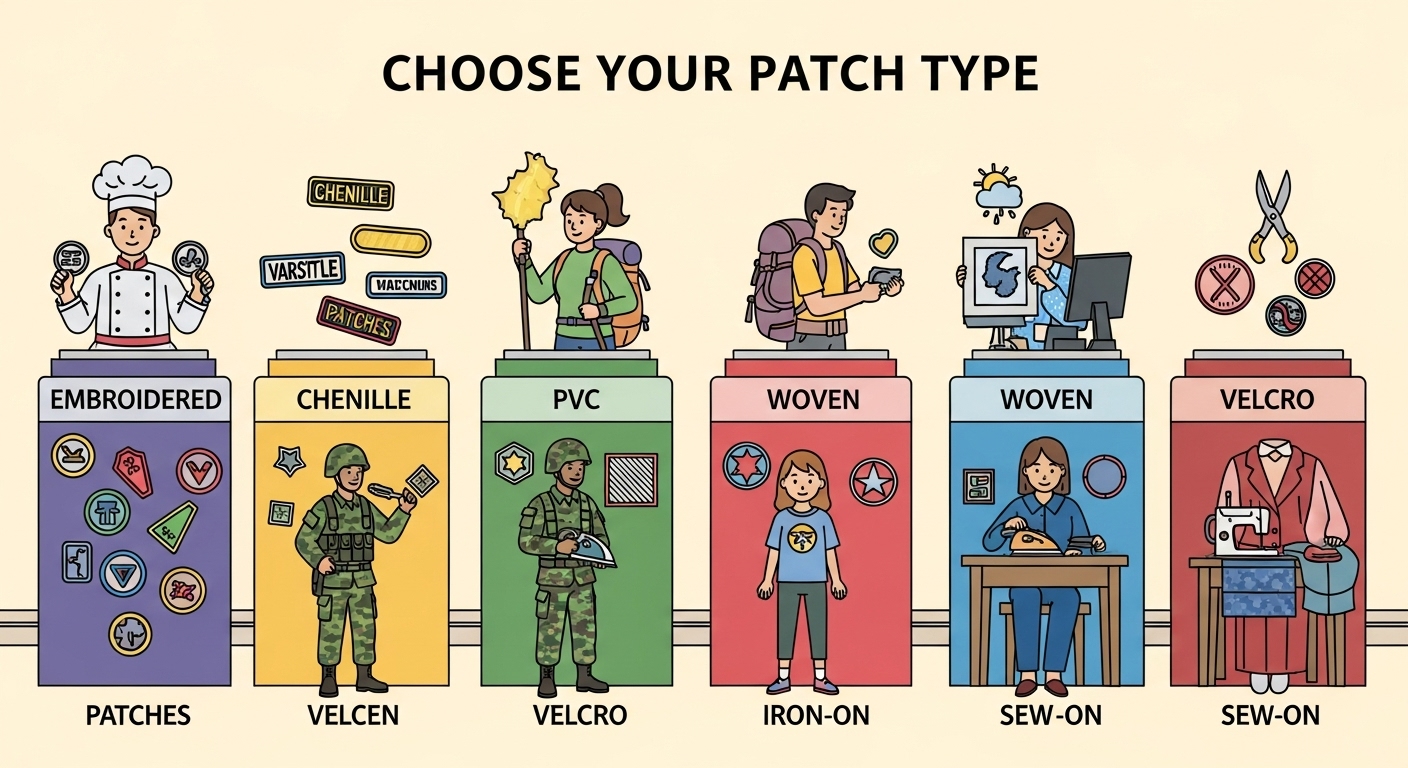
Step 2: Choosing the Right Patch Type for Your Needs
One of the most common problems is selecting a patch that doesn’t fit the intended use. Here’s how different patch types solve specific problems:
Embroidered patches
offer rich texture and durability, perfect for uniforms and promotional wear. They are created by stitching threads onto a fabric base with embroidery machines.
Chenille patches
provide a soft, plush feel and raised lettering, popular in varsity jackets and sportswear.
PVC patches
are weatherproof and highly durable, ideal for outdoor gear and heavy-use uniforms. Made from flexible plastic, these patches resist wear and fading.
Woven patches
give detailed, smooth finishes for complex designs that require subtle color shading.
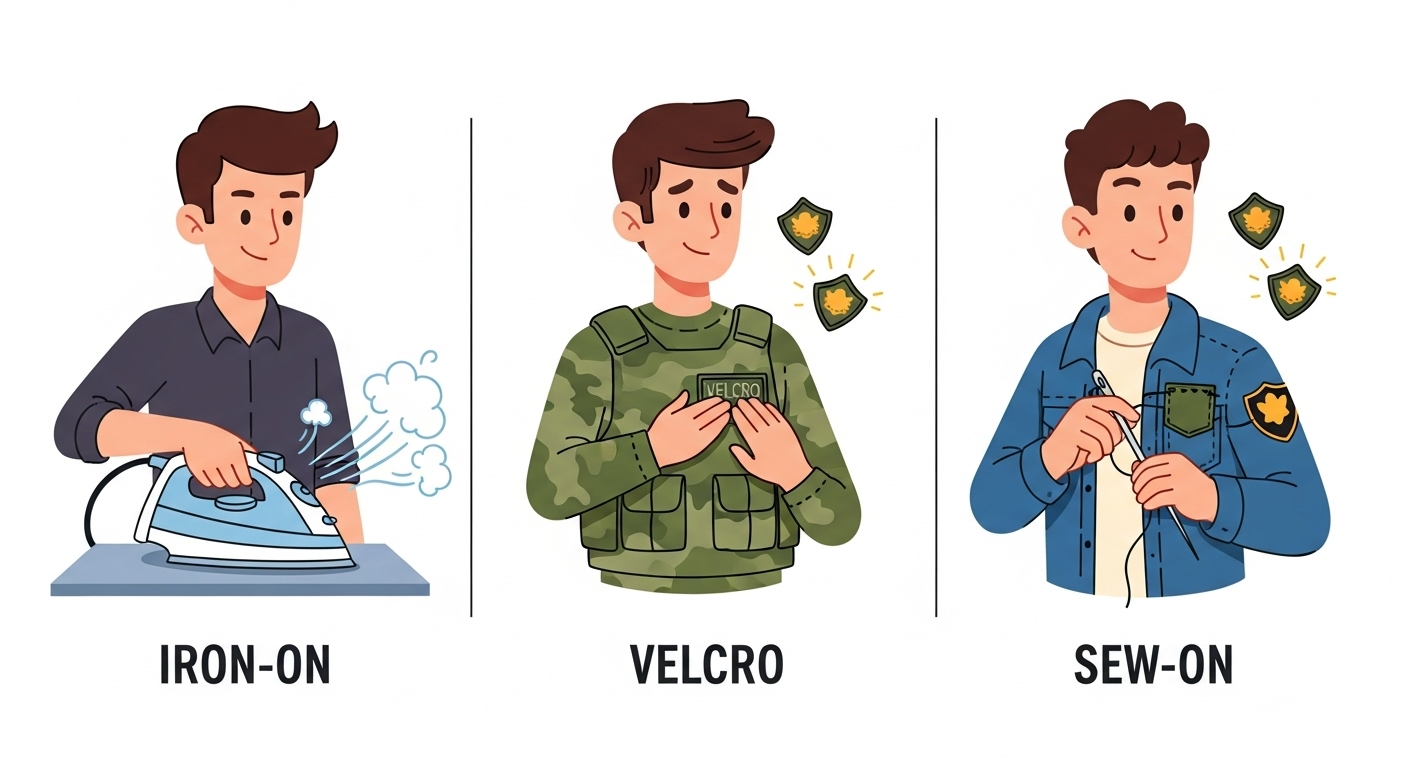
Velcro patches
provide versatility by allowing easy removal and reattachment, a solution for military or tactical gear.
Iron-on patches
come with a heat-activated adhesive backing, solving the problem of sewing for easy application.
Sew-on patches
offer permanent attachment for heavy-duty needs but require stitching.
Understanding these differences helps you avoid ordering the wrong patch type, which is a common issue.
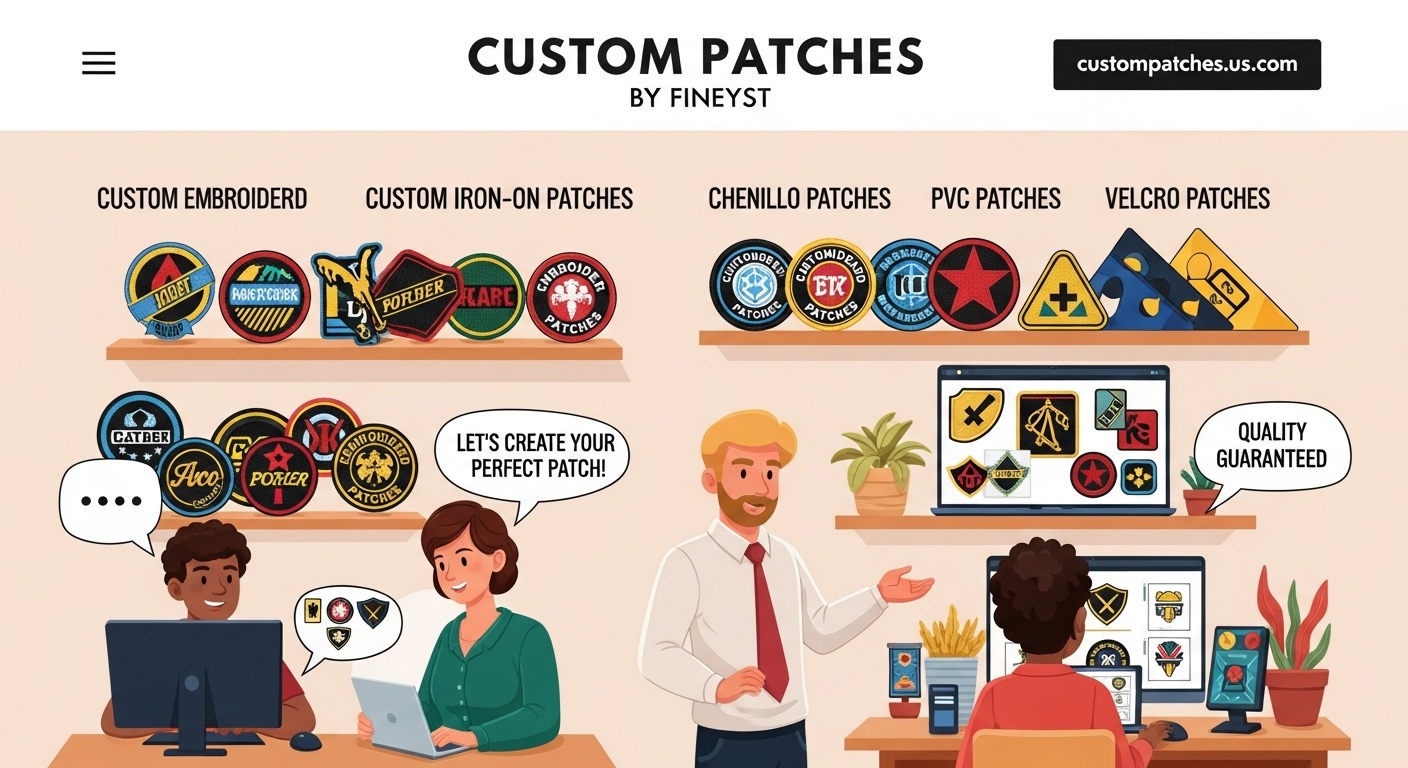
You can explore a wide variety of embroidered patches, custom chenille patches, custom pvc patches, and custom velcro patches to find the perfect style for your needs.
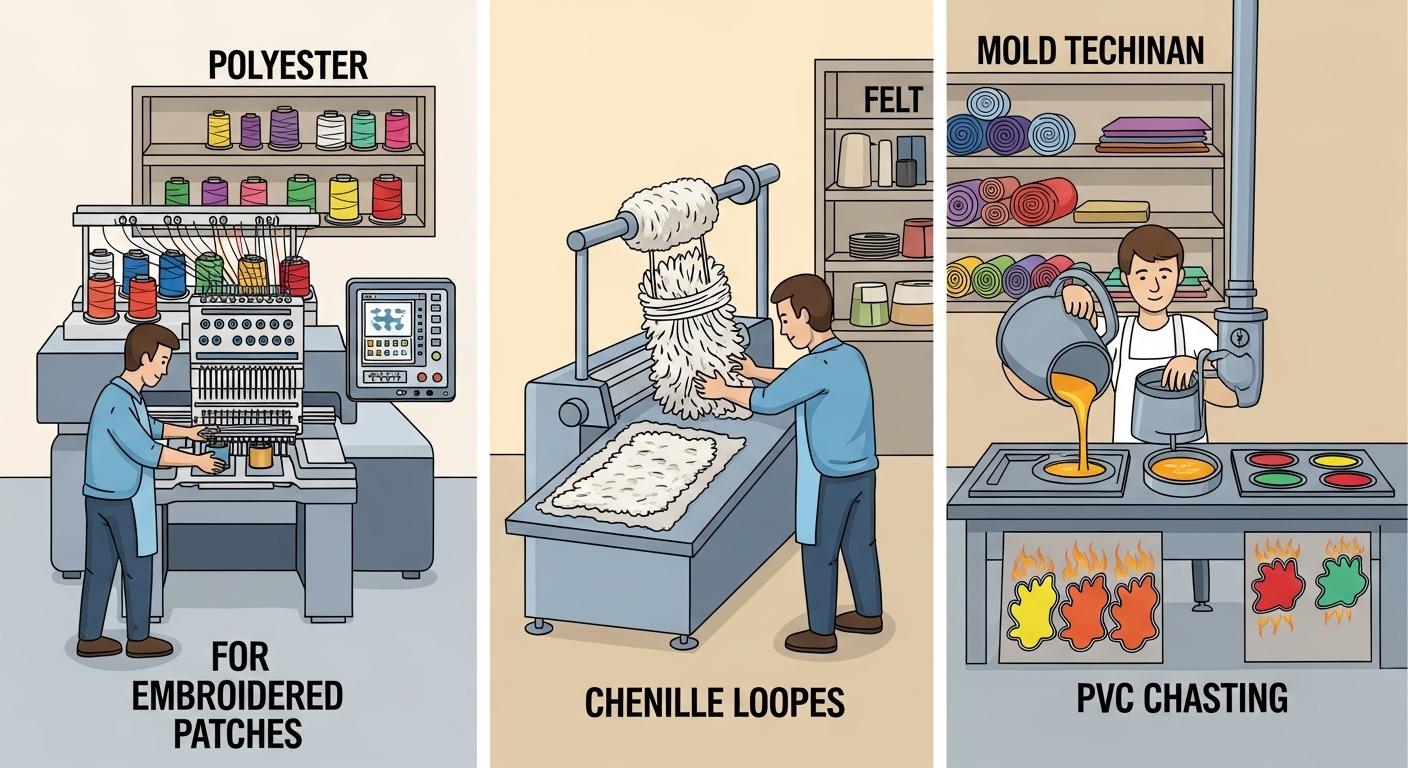
Step 3: Preparing Materials and Machines
Once the design and patch type are finalized, manufacturers prepare materials. This involves selecting the right fabric base, typically twill, felt, or other sturdy textiles, and the appropriate threads or PVC compounds.
For embroidered patches, high-quality polyester or rayon threads are loaded into computerized embroidery machines. These machines use the digital design file to stitch each patch with precision, eliminating human error that often leads to inconsistent quality.
Chenille patches require a different machine that loops yarn to create a thick, fluffy texture. The backing and edge finishes are also customized to ensure durability.
PVC patches go through an injection molding or casting process, where colored PVC compounds are poured into molds shaped by the design. This technique solves many durability problems that fabric patches face, especially in harsh conditions.
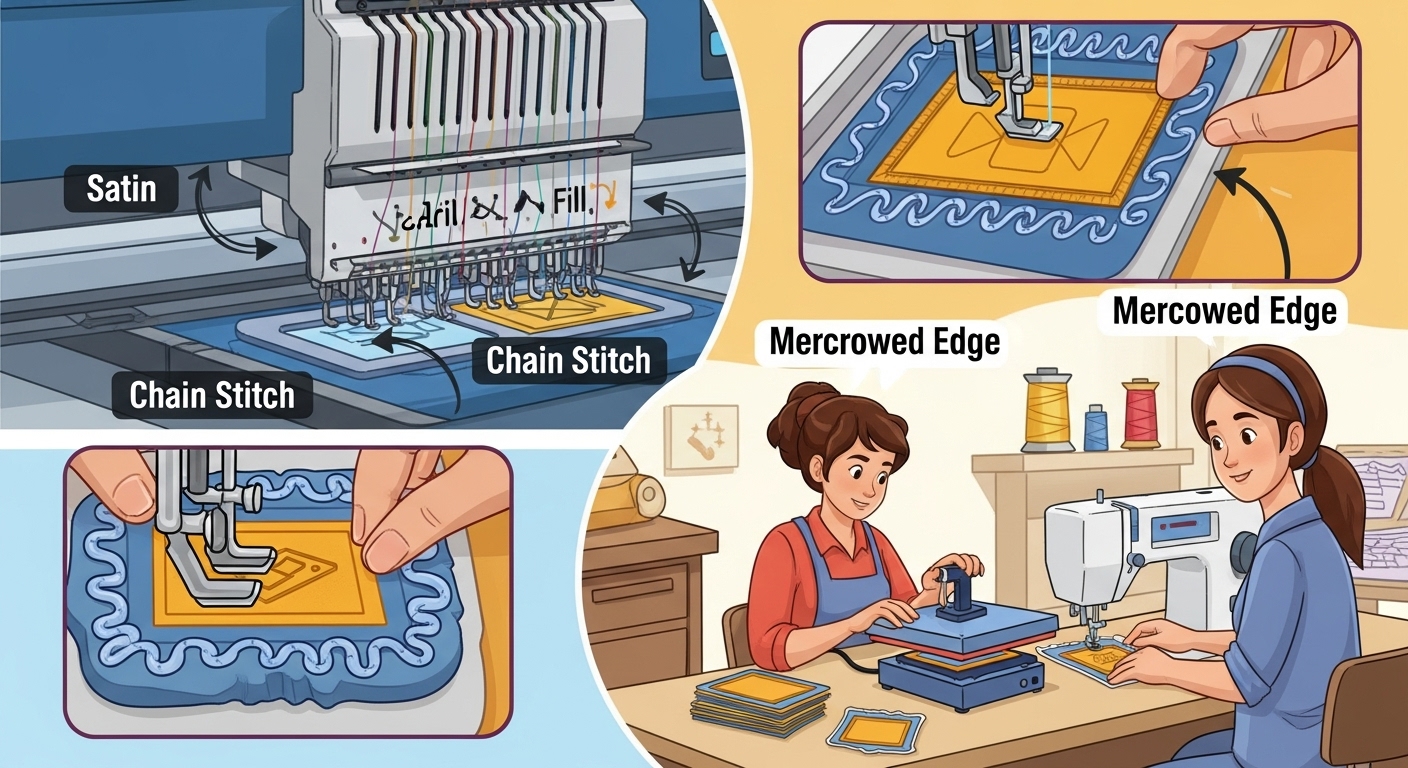
Step 4: Embroidery and Stitching Techniques
The heart of how custom patches are made lies in the embroidery or molding process. In embroidered patches, machines stitch layers of thread to build up the image. The stitch types, such as satin, fill, or chain stitch, are chosen to create texture, shading, and durability.
For example, in embroidered patches, the border often uses a merrowed edge, a type of overlock stitch that prevents fraying and creates a clean finish. In contrast, some patches use a heat-cut or laser-cut border for a sharper look.
Sewing the backing onto the patch is another critical step. Options include heat seal backings for custom iron on patches or plain fabric for sew-on patches.
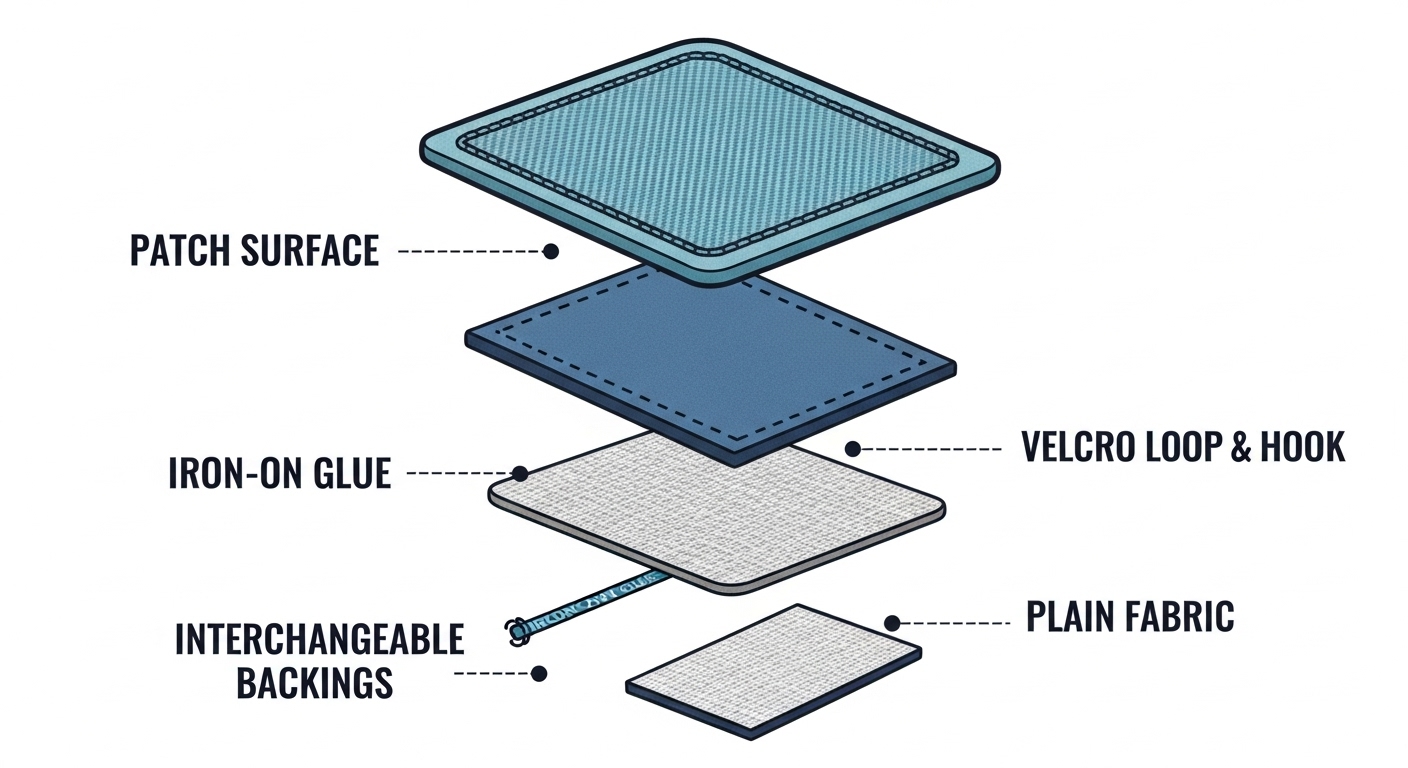
Step 5: Adding Backings for Application
The final stage involves adding a backing that suits how the patch will be attached:
Iron-on backing contains heat-activated glue, solving the problem of difficult application for customers who don’t sew.
Velcro backing uses hook-and-loop fasteners, providing flexibility for users who need to remove or switch patches frequently.
Sew-on backing leaves the patch with no adhesive, ideal for permanent attachment.
Choosing the right backing solves the problem of patch detachment and wear over time.

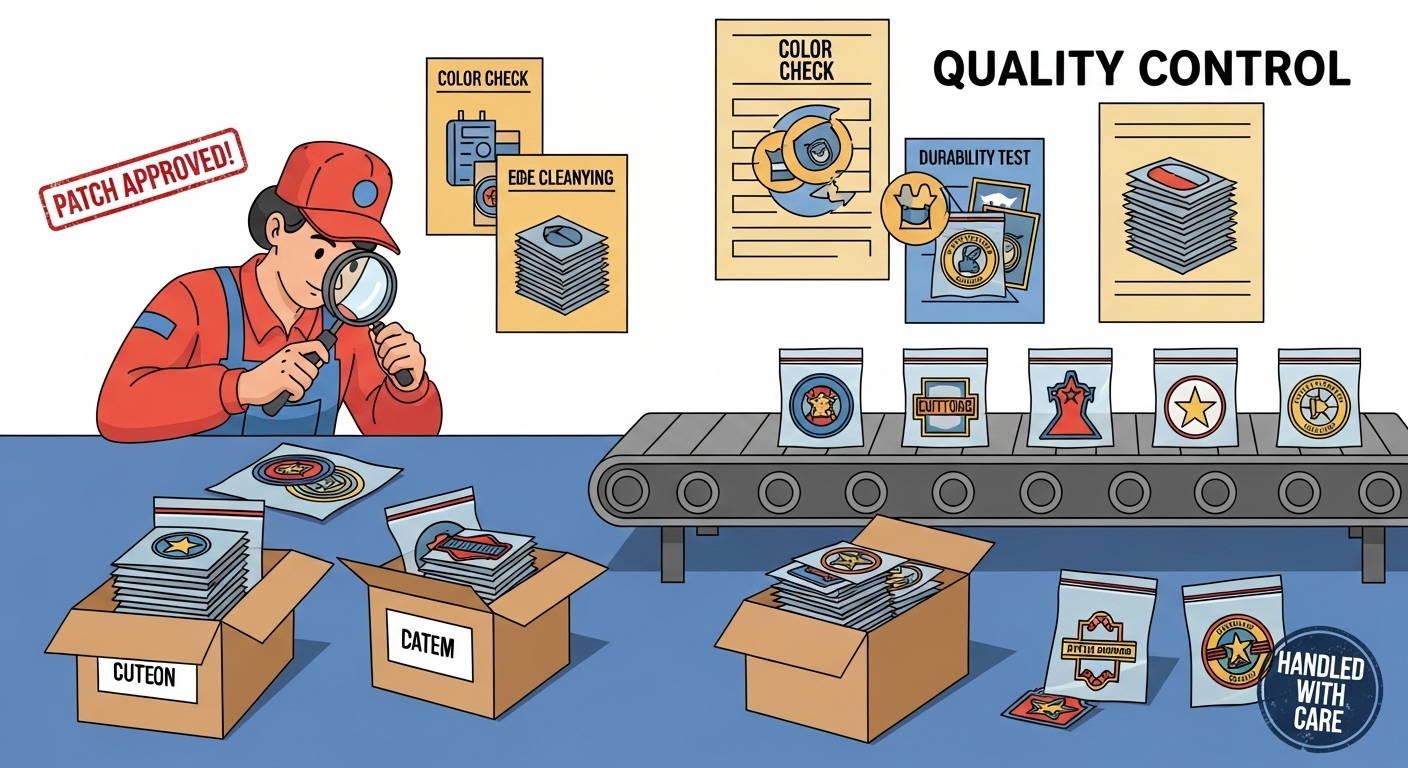
Step 6: Quality Control and Packaging
Before patches leave the production line, thorough quality checks are performed. This ensures colors match the design, edges are clean, and the patch meets durability standards.
Packaging is designed to protect the patches during shipping, keeping them flat and free from damage.
How Understanding the Process Helps You Choose the Right Patch
Consider a sports team wanting vibrant, durable patches for their uniforms. If they ordered custom iron on patches without knowing about the difference in backings, they might find the patches peeling after a few washes. Knowing how custom patches are made helps them select embroidered patches with sew-on backing, ensuring longevity despite heavy use.
Another example is a military unit requiring custom velcro patches for easy swapping of insignias. Understanding the manufacturing process helps them avoid ordering permanently attached patches that wouldn’t meet their needs.

Why Understanding How Custom Patches Are Made Matters
By understanding the detailed process of how custom patches are made, you avoid common pitfalls like poor durability, unclear designs, or inconvenient application methods. It empowers you to communicate your exact needs when ordering from professional suppliers.
Moreover, this knowledge helps you appreciate the craftsmanship and technology behind your patches, whether you choose embroidered patches, chenille patches, or custom pvc patches.
If you want to take the next step and create your own custom patch with expert guidance, Custom Patches by Fineyst is ready to help with top-quality, tailor-made solutions.
Ready to Create Your Own Custom Patch?
Helpful Comments
PatchLover22
March 15, 2025I tried this method with felt fabric and it worked beautifully! The patches have lasted through multiple washes.
CraftyMom
February 28, 2025Adding a thin layer of fabric paint around the edges really helps prevent fraying over time. Great tutorial!
DIYenthusiast
April 2, 2025For those having trouble with the adhesive, I found that pressing for 10 seconds, letting it cool slightly, then pressing again for another 10 seconds works better than one long press.